🏗️ Sculpture & Building · 90 mins · 🌿 Intermediate · Ages: 7-9 years, 10-12 years
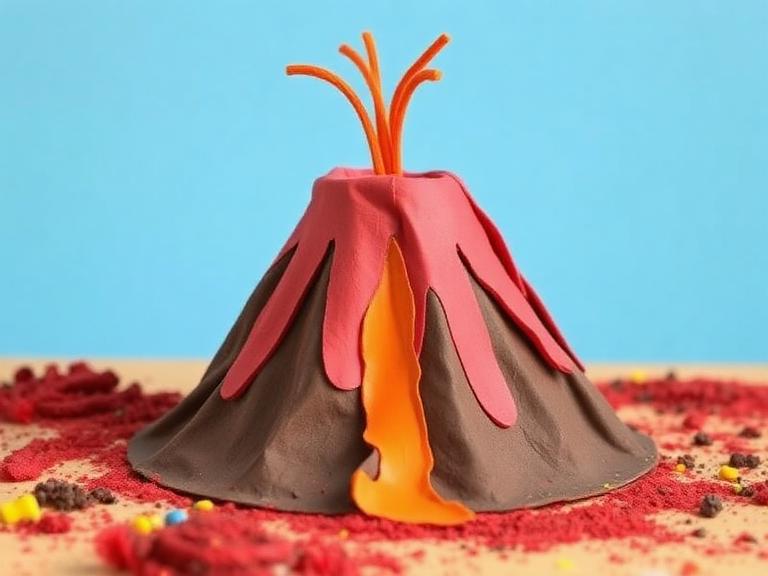
Build an erupting volcano using paper mache! This classic STEAM project combines art and science as you sculpt a realistic volcano shape, paint it with fiery colors, and make it "erupt" with a simple baking soda and vinegar reaction. Science meets art!
Materials Needed
- Newspaper strips
- Flour and water (paste)
- Small plastic bottle
- Cardboard base
- Masking tape
- Acrylic paints
- Baking soda
- Vinegar
- Red food coloring
- Dish soap
Step-by-Step Instructions 📝
Build the volcano frame
Place a small plastic bottle in the center of your cardboard base — this is your eruption chamber. Crumple newspaper into balls and tape them around the bottle, building up a mountain shape. Leave the bottle opening at the top uncovered. Use masking tape to secure everything.
Tip: Make the base wide and the top narrow for a realistic volcano shape. Add some bumps and ridges for texture!
Mix the paper mache paste
Mix equal parts flour and water into a smooth paste (no lumps!). It should be like thick pancake batter. Tear newspaper into strips about 2cm wide and 15cm long. You'll need a LOT of strips — tear them all before you start pasting.
Tip: Add a tablespoon of salt to the paste to prevent mold while it dries.
Apply paper mache layers
Dip each newspaper strip into the paste, squeeze off excess with your fingers, and lay it on the volcano frame. Overlap strips and smooth them down. Cover the entire volcano with 3-4 layers. Leave the bottle opening clear! Let each layer dry before adding the next.
Tip: Alternate strip directions — horizontal, then diagonal, then vertical — for maximum strength.
Let it dry and paint
Let the volcano dry completely (24-48 hours). Once hard, paint the base green and brown for land. Paint the volcano itself with dark brown, adding black and red near the top. Paint orange and red "lava flows" dripping down the sides. Add gray rocky details.
Tip: Dry brush gray and white highlights on the rock surfaces for a more realistic, textured look.
Make it erupt!
Pour 2 tablespoons of baking soda into the bottle opening. Add a few drops of red food coloring and a squirt of dish soap. When you're ready for the eruption, pour in vinegar and watch the lava flow! The dish soap makes it extra foamy and dramatic.
Tip: Do the eruption outside or in a sink — it can get messy! You can erupt it over and over by adding more baking soda and vinegar.
You Did It! 🎉
Great job completing this project! Share your creation with friends and family, or try another project from our collection.
More Like This ✨
Clay Monster Sculptures
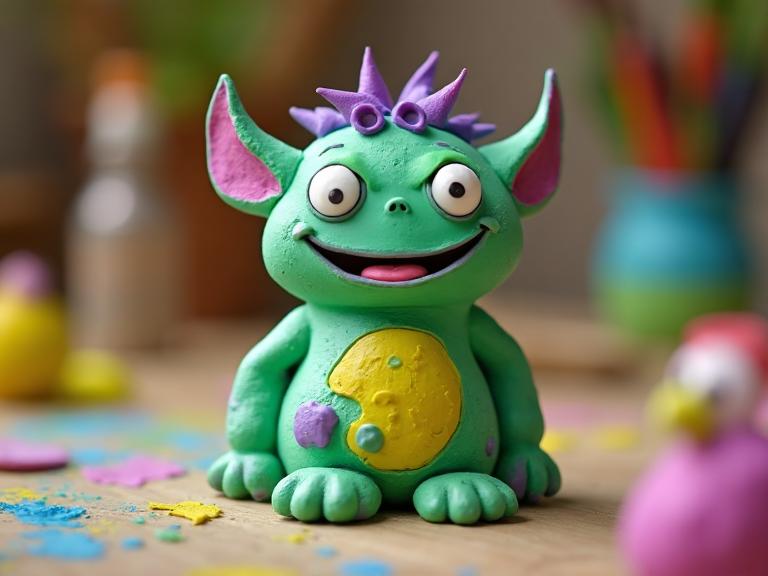
Sculpt a friendly monster using air-dry clay! Design and build your very own creature with horns, tentacles, wings, or whatever your imagination dreams up. This hands-on project teaches basic sculpting techniques while letting your creativity run wild.
Origami Paper Zoo
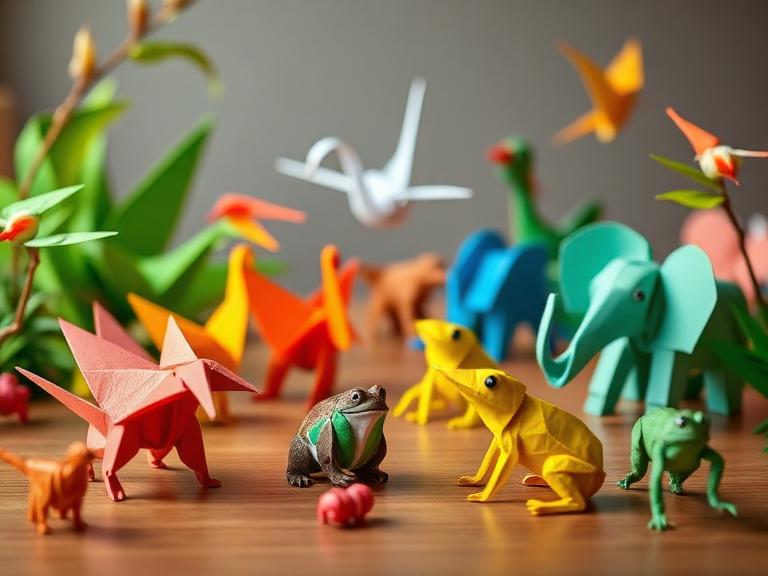
Fold a whole zoo of animals using just paper! Learn classic origami techniques to create cranes, frogs, elephants, and more. This meditative art form teaches patience, geometry, and precision while producing beautiful 3D paper sculptures.
Wire & Bead Sculpture
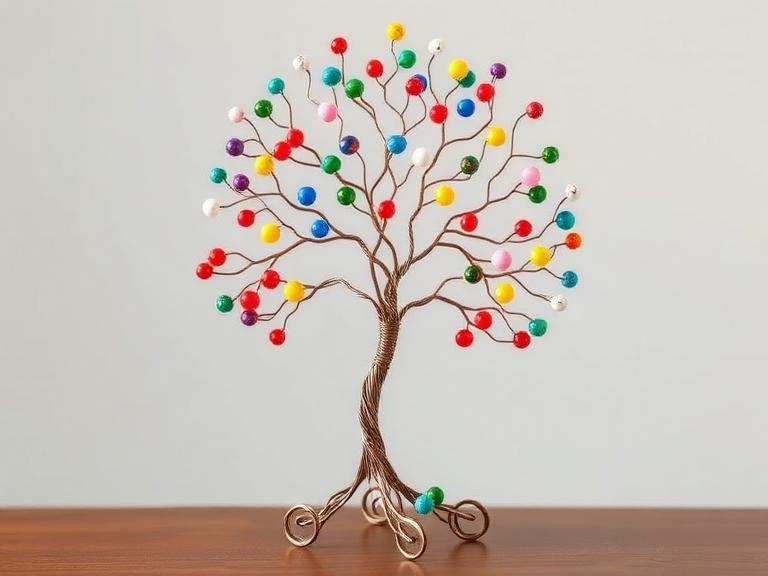
Create stunning 3D sculptures using craft wire and colorful beads! Shape wire into trees, figures, or abstract art, then thread on beads for color and sparkle. This project develops fine motor skills and introduces the concept of three-dimensional art.
Materials You'll Need
- Newspaper strips
- Flour and water (paste)
- Small plastic bottle
- Cardboard base
- Masking tape
- Acrylic paints
- Baking soda
- Vinegar
- Red food coloring
- Dish soap