🏗️ Sculpture & Building · 50 mins · 🌳 Advanced · Ages: 10-12 years, 13+ years
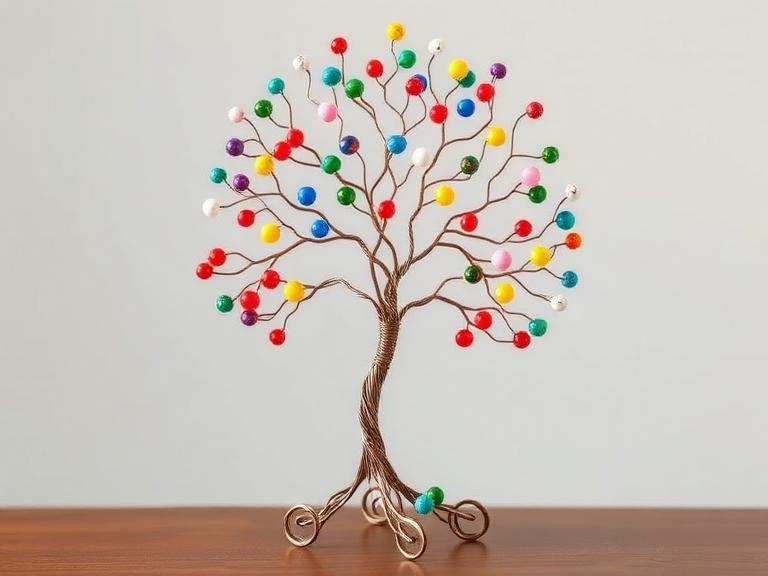
Create stunning 3D sculptures using craft wire and colorful beads! Shape wire into trees, figures, or abstract art, then thread on beads for color and sparkle. This project develops fine motor skills and introduces the concept of three-dimensional art.
Materials Needed
- Craft wire (20-22 gauge, colored)
- Assorted beads (various sizes)
- Wire cutters
- Round-nose pliers
- Small base (rock, wood block, or clay)
- Ruler
Step-by-Step Instructions 📝
Plan your design
Sketch what you want to create — a tree of life, a dancing figure, an abstract spiral, or a flower bouquet. Keep the design relatively simple for your first wire sculpture. Think about which parts will be wire-only and which will have beads.
Tip: Trees are the perfect first project — the branches don't need to be symmetrical, so "mistakes" just look like natural growth!
Create the trunk or base
Cut 6-8 pieces of wire about 30cm each. Bundle them together and twist the middle section tightly to form the trunk. Leave both ends free — the bottom ends become roots, the top ends become branches. Bend the roots outward for stability.
Tip: Use pliers to twist the wire tightly. The trunk should be firm enough to hold its shape when you let go.
Shape the branches
Separate the top wires and bend each one in a different direction. Some can curve up, others to the side. Split some wires into two thinner branches by untwisting and re-twisting. Vary the lengths for a natural look.
Tip: Look at real trees for reference. Branches don't grow straight — they curve, split, and reach toward light.
Thread beads onto branches
Slide colorful beads onto each branch end. Use different colors for different "leaves" or "flowers." Curl the wire tip with pliers to keep beads from sliding off. Mix bead sizes — small beads for buds, larger ones for fruits or flowers.
Tip: Create color clusters: all red beads on one branch (cherries), all pink on another (blossoms). Or go rainbow!
Secure to the base
Spread the root wires over your base (a flat rock or wood block works great). Use strong glue or wrap them around the base. If using clay, press the roots into soft clay and let it harden. Make sure the sculpture stands upright on its own.
Tip: For a polished look, paint the base or wrap it with decorative tape before attaching your sculpture.
Add finishing touches
Curl wire ends into spirals for a decorative look. Add a small wire bird perched on a branch. Hang tiny beads from thin threads for a mobile effect. Adjust branch angles until the overall shape is balanced and beautiful.
Tip: Place your sculpture near a window — beads catch and reflect light beautifully, creating colorful shadows!
You Did It! 🎉
Great job completing this project! Share your creation with friends and family, or try another project from our collection.
More Like This ✨
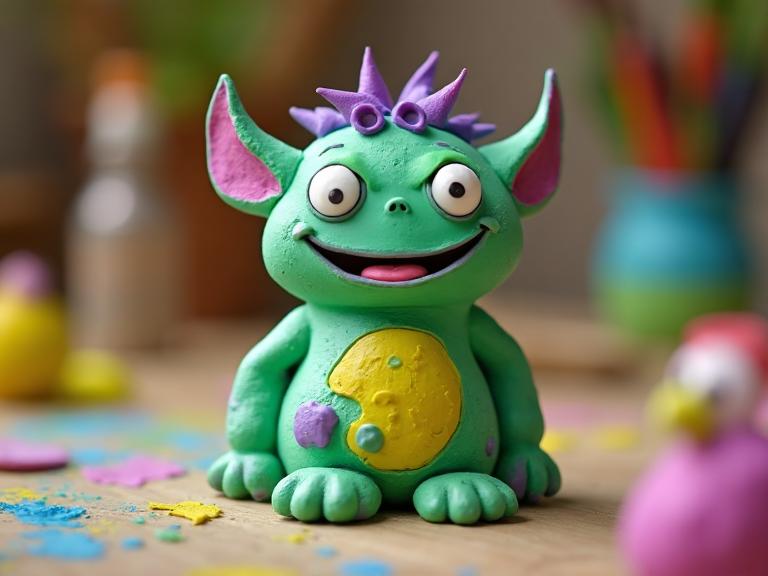
Clay Monster Sculptures
Sculpt a friendly monster using air-dry clay! Design and build your very own creature with horns, tentacles, wings, or whatever your imagination dreams up. This hands-on project teaches basic sculpting techniques while letting your creativity run wild.
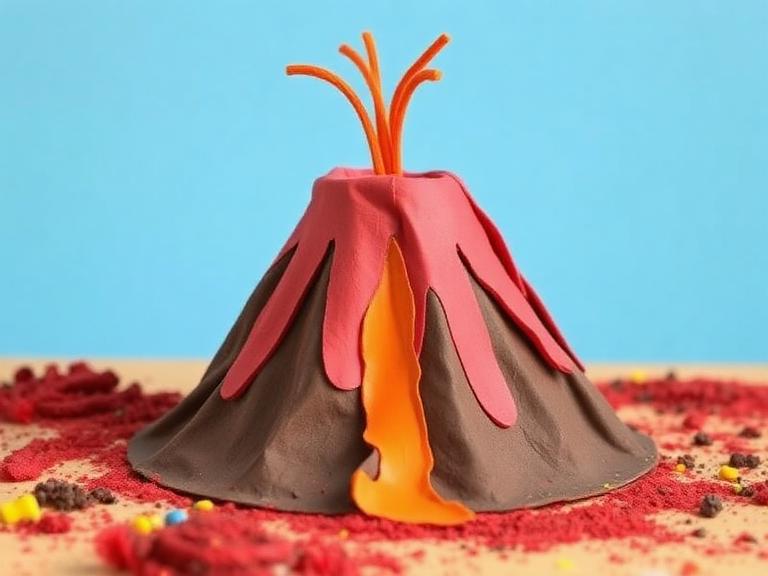
Paper Mache Volcano
Build an erupting volcano using paper mache! This classic STEAM project combines art and science as you sculpt a realistic volcano shape, paint it with fiery colors, and make it "erupt" with a simple baking soda and vinegar reaction. Science meets art!
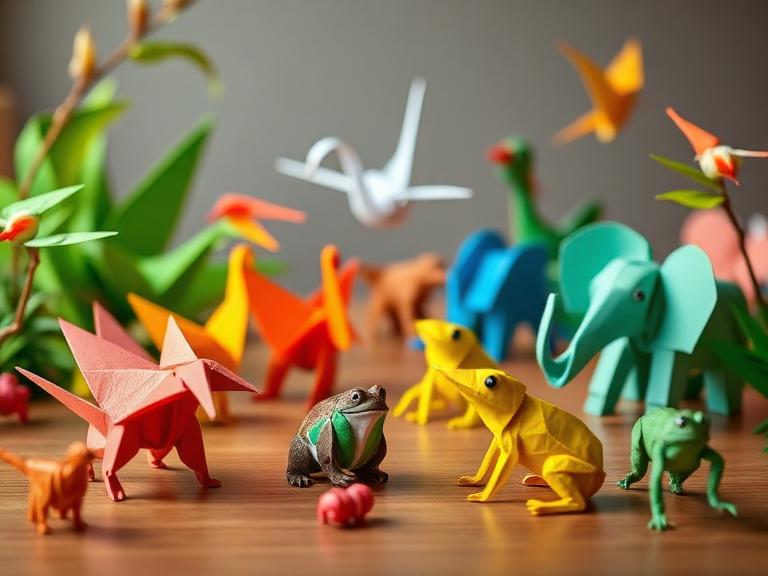
Origami Paper Zoo
Fold a whole zoo of animals using just paper! Learn classic origami techniques to create cranes, frogs, elephants, and more. This meditative art form teaches patience, geometry, and precision while producing beautiful 3D paper sculptures.
Materials You'll Need
- Craft wire (20-22 gauge, colored)
- Assorted beads (various sizes)
- Wire cutters
- Round-nose pliers
- Small base (rock, wood block, or clay)
- Ruler