🏗️ Sculpture & Building · 60 mins · 🌿 Intermediate · Ages: 7-9 years, 10-12 years
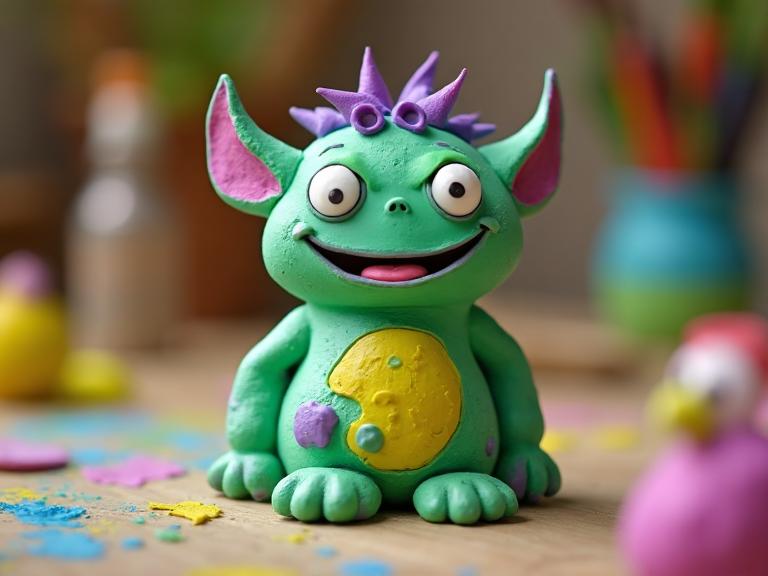
Sculpt a friendly monster using air-dry clay! Design and build your very own creature with horns, tentacles, wings, or whatever your imagination dreams up. This hands-on project teaches basic sculpting techniques while letting your creativity run wild.
Materials Needed
- Air-dry clay (white or colored)
- Clay sculpting tools or plastic knife
- Small cup of water
- Acrylic paints
- Paintbrushes
- Googly eyes (optional)
- Toothpicks
- Wax paper (work surface)
Step-by-Step Instructions 📝
Design your monster
Grab a pencil and sketch your monster from the front and side. Will it be tall and skinny, short and round, or something totally weird? Decide on features: how many eyes, arms, legs, horns, or tentacles. Give it a name and personality!
Tip: The sillier the design, the more fun it is to sculpt! Don't worry about making it look "real" — monsters can be anything.
Shape the body
Take a ball of clay about the size of your fist. Knead it until it's soft and smooth (no cracks). Shape it into your monster's main body — round, oval, or whatever shape matches your design. Set it on wax paper so it won't stick.
Tip: If the clay feels dry, wet your fingers slightly. If it's too sticky, let it sit for a minute.
Build the features
Roll small pieces of clay into balls, cones, and snakes to create eyes, horns, arms, legs, and other features. Use a tiny bit of water on the joining spots to "glue" pieces together. Press firmly but gently so parts stick without squishing the body.
Tip: Use a toothpick to score (scratch lines into) both surfaces before joining — this creates a stronger bond.
Add texture and details
Use sculpting tools or a toothpick to add texture. Poke dots for skin bumps, drag lines for fur, or press patterns for scales. Add a mouth by cutting a line and opening it slightly. Create nostrils, ears, or belly buttons with small pokes.
Tip: Press the end of a pen cap into the clay to make perfect circles. A fork makes great texture patterns!
Let it dry completely
Place your monster on a piece of wax paper in a safe spot where it won't be bumped. Air-dry clay needs 24-48 hours to fully harden, depending on thickness. Turn it once after 12 hours so the bottom dries too.
Tip: Don't try to speed-dry with a hair dryer — it can crack! Patience is part of the art.
Paint and bring to life
Once completely dry, paint your monster with acrylic paints. Start with a base color over the whole body, let it dry, then add details — spots, stripes, glowing eyes, sharp teeth, or a friendly smile. Add googly eyes for instant personality! Finish with a clear coat if you want it to last.
Tip: Paint light colors first, then layer darker colors on top. Acrylic paint dries fast, so work in small sections.
You Did It! 🎉
Great job completing this project! Share your creation with friends and family, or try another project from our collection.
More Like This ✨
Paper Mache Volcano
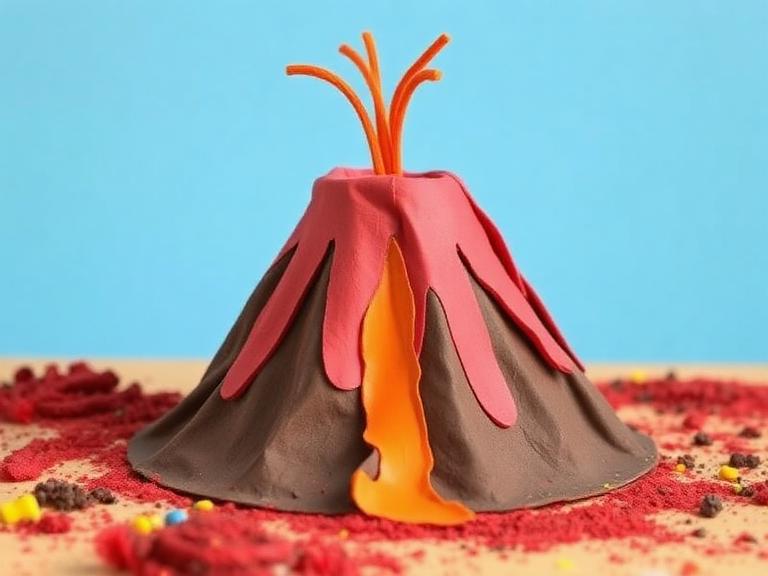
Build an erupting volcano using paper mache! This classic STEAM project combines art and science as you sculpt a realistic volcano shape, paint it with fiery colors, and make it "erupt" with a simple baking soda and vinegar reaction. Science meets art!
Origami Paper Zoo
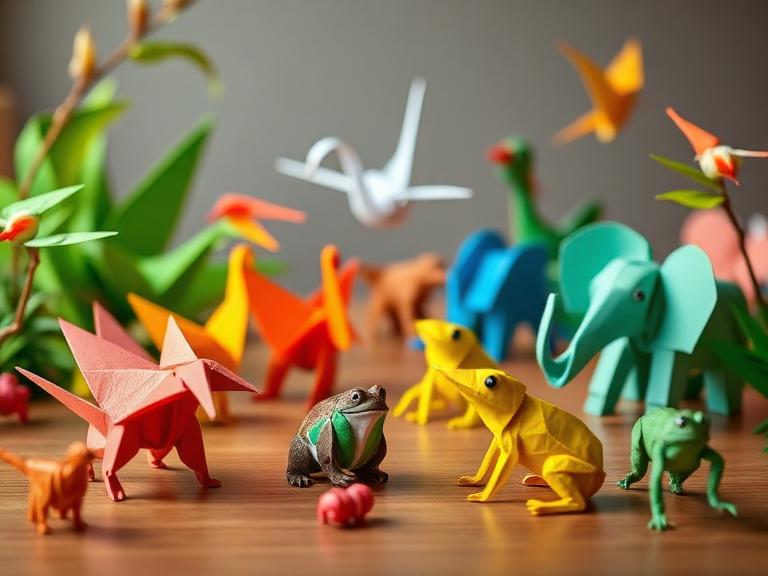
Fold a whole zoo of animals using just paper! Learn classic origami techniques to create cranes, frogs, elephants, and more. This meditative art form teaches patience, geometry, and precision while producing beautiful 3D paper sculptures.
Wire & Bead Sculpture
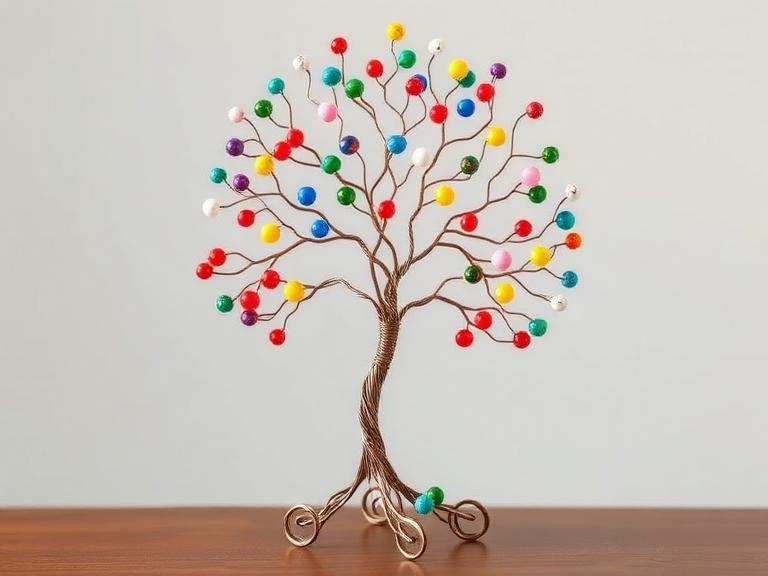
Create stunning 3D sculptures using craft wire and colorful beads! Shape wire into trees, figures, or abstract art, then thread on beads for color and sparkle. This project develops fine motor skills and introduces the concept of three-dimensional art.
Materials You'll Need
- Air-dry clay (white or colored)
- Clay sculpting tools or plastic knife
- Small cup of water
- Acrylic paints
- Paintbrushes
- Googly eyes (optional)
- Toothpicks
- Wax paper (work surface)