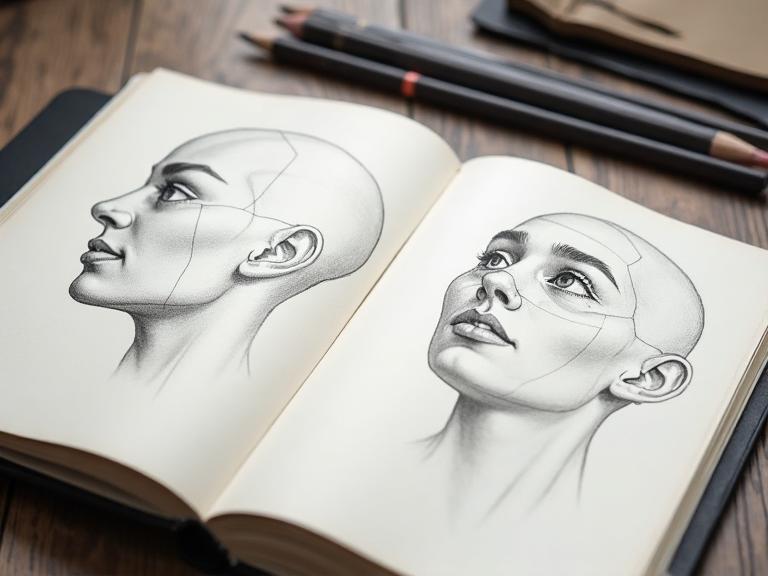
✏️ Drawing & Illustration · 50 mins · 🌳 Advanced · Ages: 10-12 years, 13+ years
Learn the fundamentals of drawing faces and expressions! This guided lesson teaches you the classic proportions and techniques used by artists to draw realistic-looking portraits. Master the placement of eyes, nose, and mouth, then bring your drawings to life with shading and expressions.
Materials Needed
- Sketchbook or drawing paper
- Pencils (HB, 2B, 4B)
- Eraser (kneaded eraser is best)
- Blending stump or cotton swab
- Ruler
- Reference photos (optional)
Step-by-Step Instructions 📝
Draw the basic head shape
Start by drawing a vertical oval — like an egg with the narrow end pointing down. Draw a light vertical line down the center and a horizontal line across the middle. This center cross is your guide for placing all facial features symmetrically.
Tip: The head is NOT a circle — it's an egg shape. Getting this right is the foundation for everything else.
Map out facial proportions
Divide the lower half of the face with two more horizontal lines, creating equal thirds. The eyes sit on the center line. The bottom of the nose sits on the second line. The mouth sits between the nose line and the chin. The ears align with the space between the eyes and nose.
Tip: These proportions work for most faces! Once you learn them, you'll start noticing them on real people everywhere.
Draw the eyes in detail
On the center line, draw two almond shapes spaced one eye-width apart. Add circles inside for the iris and smaller circles for the pupils. Draw the upper and lower eyelids with slight curves. Add eyebrows above — they express so much emotion! Leave small white highlights in each eye for life.
Tip: The iris is never fully visible — the top is always slightly covered by the upper eyelid. This makes eyes look natural.
Add the nose and mouth
The nose starts between the eyes and widens at the nostrils. Draw it as a soft triangular shape with small curved lines for nostrils. For the mouth, draw the center lip line first (it's not straight — it has a subtle wave), then add the upper lip with its cupid's bow shape and the fuller lower lip below.
Tip: Noses are the hardest feature — use subtle shading rather than heavy outlines for a more natural look.
Add shading and dimension
Identify where light comes from (usually upper left). The opposite side of the face will be in shadow. Use your 2B pencil for medium shadows and 4B for dark areas. Shade under the nose, beneath the lower lip, under the chin, and along one side of the face. Blend with a stump for smooth gradients.
Tip: Squint at your reference photo to see where the darkest and lightest areas are — squinting simplifies the values.
Practice different expressions
Now the fun part! Copy your base face and change the expression. For happy: curve the mouth up, squish the eyes slightly. For surprised: raise the eyebrows high, open the mouth in an O. For angry: lower and angle the eyebrows, tighten the mouth. Small changes make huge differences!
Tip: Stand in front of a mirror and make faces — you're your own best reference model! Notice how your whole face moves, not just the mouth.
You Did It! 🎉
Great job completing this project! Share your creation with friends and family, or try another project from our collection.
More Like This ✨
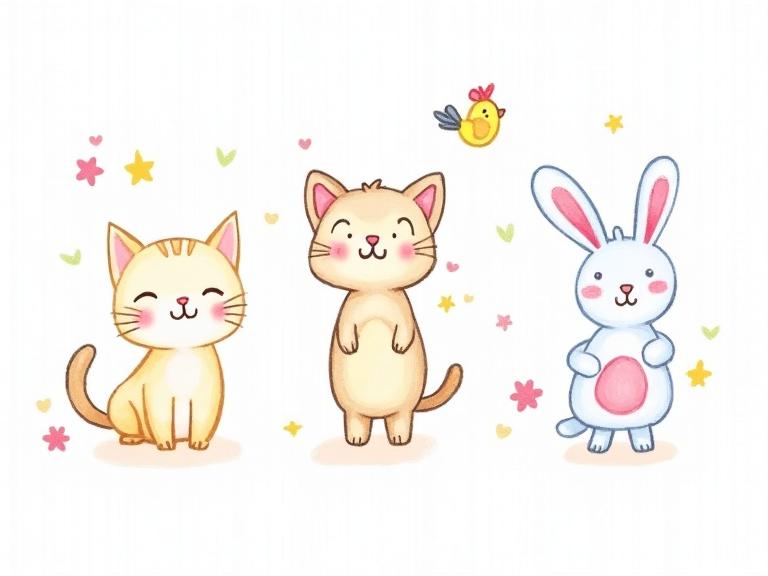
Cute Animal Doodles
Learn to draw adorable animals step by step! From fluffy cats to bouncy bunnies, this drawing guide breaks down cute animal characters into simple shapes that anyone can draw. You'll build a whole zoo of lovable doodle friends!
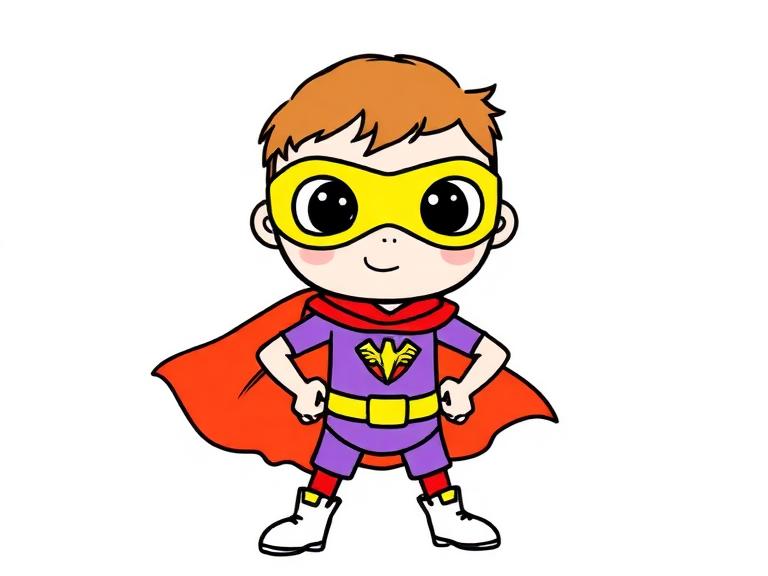
Draw Your Superhero
Design and draw your very own original superhero character! From superpowers to costume design, you'll create a hero that's completely unique. Learn dynamic poses, costume design, and how to give your character personality through art.
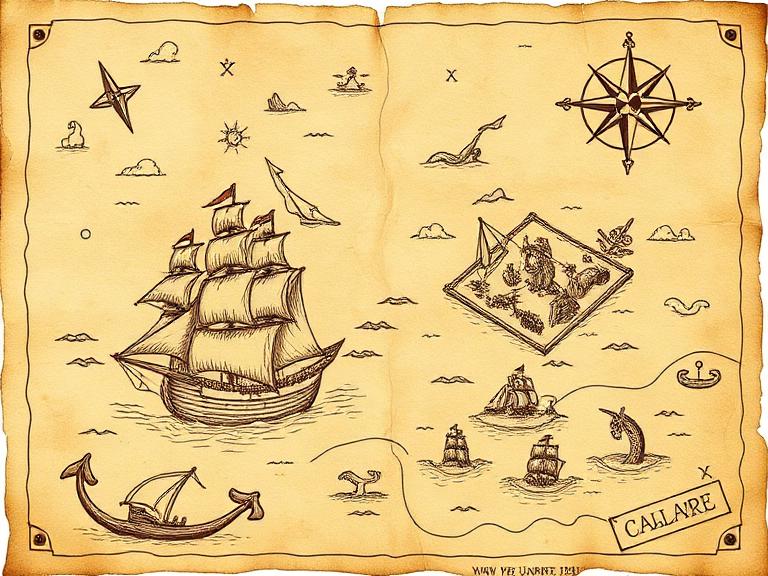
Treasure Map Adventure
Create an authentic-looking pirate treasure map! Learn to draw compass roses, islands, sea monsters, and mysterious landmarks. Age the paper for a real antique effect, then hide it for friends to follow on an actual treasure hunt!
Materials You'll Need
- Sketchbook or drawing paper
- Pencils (HB, 2B, 4B)
- Eraser (kneaded eraser is best)
- Blending stump or cotton swab
- Ruler
- Reference photos (optional)