🎨 Painting & Color · 30 mins · 🌱 Beginner · Ages: 4-6 years, 7-9 years
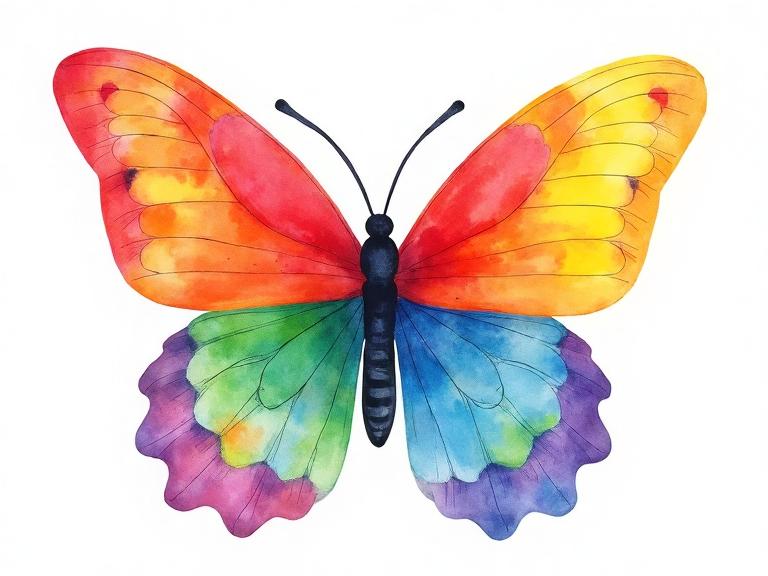
Learn to paint a beautiful butterfly using all the colors of the rainbow! This beginner-friendly watercolor project teaches color blending, symmetry, and brush control while creating a stunning piece of art you'll want to hang on your wall.
Materials Needed
- Watercolor paint set
- Watercolor paper (thick)
- Round paintbrush (medium)
- Round paintbrush (small)
- Water cup
- Paper towels
- Pencil
- Eraser
Step-by-Step Instructions 📝
Sketch the butterfly shape
Using a light pencil, draw an oval for the body in the center of your paper. Then draw two large rounded wings on each side — like big letter Ds facing outward. Add two small lower wings below them. Keep your lines light so they won't show through the paint!
Tip: Fold your paper in half first and draw one side, then trace the other side for perfect symmetry.
Divide the wings into sections
Draw curved lines inside each wing to create 3-4 sections. These sections will each be painted a different color. Think of them like slices of a rainbow pie! Make the sections roughly equal in size.
Tip: Look at real butterfly photos for inspiration — many have beautiful natural patterns.
Paint the warm colors
Start with the sections closest to the body. Wet your brush, dip it in red paint, and fill in the first section. Clean your brush, then paint the next section orange, and the one after that yellow. Let each color slightly touch the next to create a natural blend.
Tip: Watercolors work best when the paper is slightly damp — try wetting each section with clean water first, then adding color.
Paint the cool colors
Now paint the outer sections with green, blue, and purple. Watch how the colors flow into each other at the edges — that's the magic of watercolors! Don't worry about being perfect; the blending makes it more beautiful.
Tip: If two colors bleed together too much, dab gently with a paper towel to lift excess paint.
Add the body and antennae
Once the wings are dry, use a small brush to paint the body dark brown or black. Add two curved antennae at the top with small dots or hearts at the tips. You can add tiny dots and patterns on the wings too!
Tip: Use the very tip of your small brush for thin, delicate lines.
Final sparkle touches
Add white dots along the wing edges for a magical look. You can also add tiny patterns inside each wing section — circles, stars, or wavy lines. Let everything dry completely before picking it up!
Tip: A white gel pen works great for adding bright details on top of dried watercolors.
You Did It! 🎉
Great job completing this project! Share your creation with friends and family, or try another project from our collection.
More Like This ✨
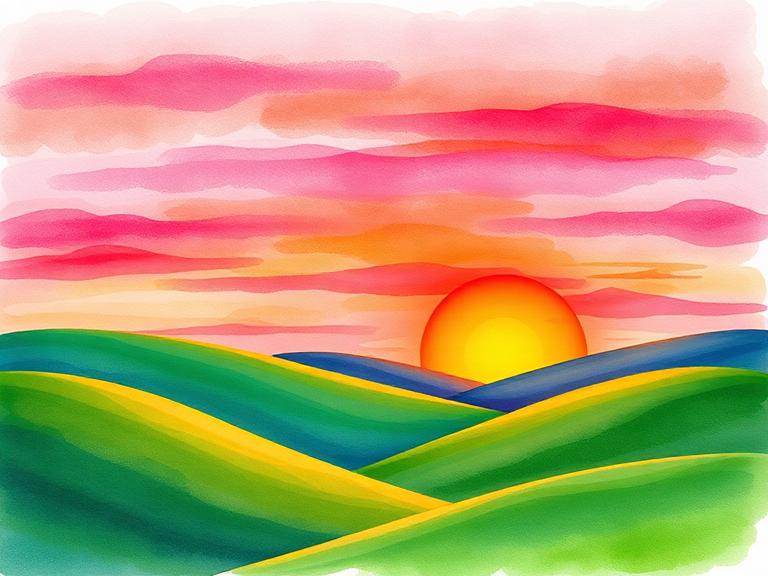
Sunset Landscape Painting
Paint a gorgeous sunset over rolling hills using warm and cool color contrasts! This project teaches you how to create depth, blend gradients, and use the magic of warm vs cool colors to make your landscape glow like a real sunset.
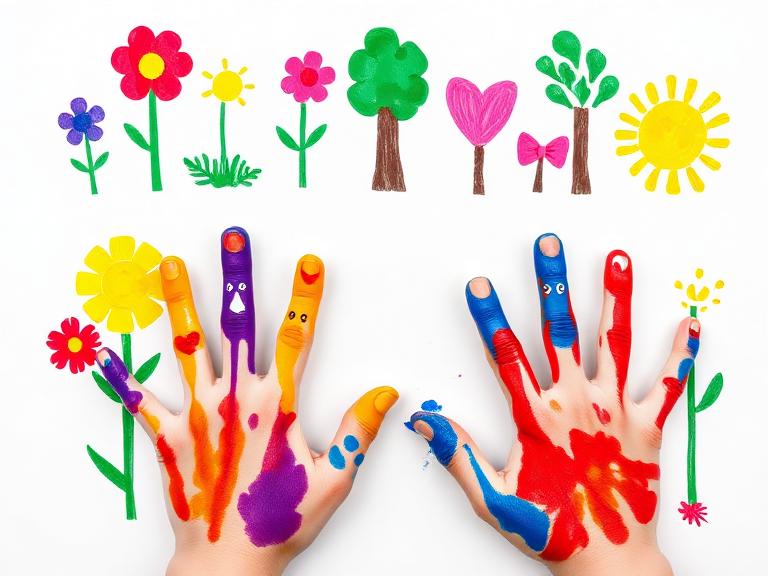
Finger Painting Fun
Dive into the joy of finger painting! No brushes needed — just your hands and bright, washable paints. Turn handprints into flowers, trees, animals, and abstract art. This messy, tactile project is pure creative freedom for the youngest artists.
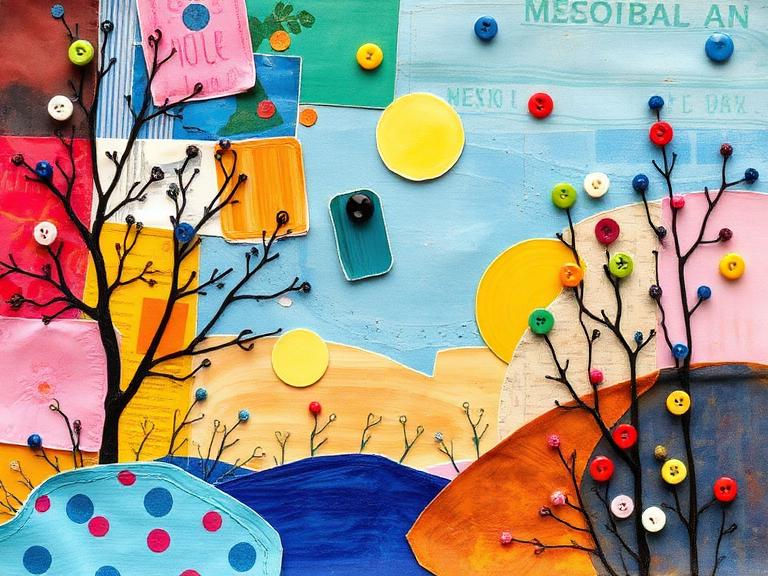
Mixed Media Collage Art
Combine painting, paper scraps, fabric, and found objects into a vibrant collage artwork! Mixed media means mixing any materials you want — there are no rules. This project encourages resourceful creativity and produces unique, textured art pieces.
Materials You'll Need
- Watercolor paint set
- Watercolor paper (thick)
- Round paintbrush (medium)
- Round paintbrush (small)
- Water cup
- Paper towels
- Pencil
- Eraser