🎨 Painting & Color · 40 mins · 🌿 Intermediate · Ages: 7-9 years, 10-12 years
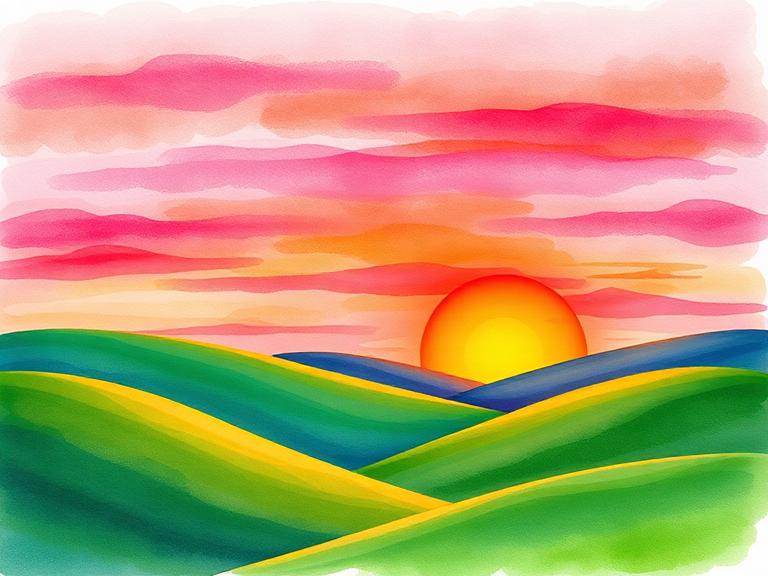
Paint a gorgeous sunset over rolling hills using warm and cool color contrasts! This project teaches you how to create depth, blend gradients, and use the magic of warm vs cool colors to make your landscape glow like a real sunset.
Materials Needed
- Acrylic or tempera paint set
- Canvas or thick paper
- Flat brush (large)
- Round brush (medium)
- Water cup
- Paper plate (palette)
- Paper towels
Step-by-Step Instructions 📝
Paint the sky gradient
Start at the top of your canvas with deep blue paint. Using a wide flat brush, paint horizontal strokes across the top. As you move downward, gradually mix in purple, then pink, then orange, then yellow at the horizon line. Blend while the paint is still wet!
Tip: Work quickly with acrylics — they dry fast. Keep a spray bottle of water handy to mist your palette and keep paint workable.
Add the sun
While the sky is still slightly wet, paint a bright yellow-white circle near the horizon. Add soft orange around it to create a glowing halo effect. The sun should look like it's melting into the landscape. Keep it low on the canvas for the best sunset look.
Tip: Don't make the sun too small — a big sun near the horizon creates more drama and warmth.
Paint the hills
Mix dark green and blue for the farthest hills. Paint gentle rolling hill shapes across the bottom third of the canvas. For closer hills, use brighter, warmer greens mixed with yellow. Each layer of hills should overlap the one behind it.
Tip: Distant hills should be lighter and bluer (atmospheric perspective). Close hills should be darker and warmer.
Add details to the landscape
Paint tiny trees along the hilltops using a small brush — just dab upward with dark green. Add a winding path or river with a thin line of reflected sky color. Paint small wildflowers as colored dots along the foreground.
Tip: Less detail in the background, more in the foreground — this creates depth and makes the painting feel real.
Create cloud effects
Using a dry brush technique, dip your brush in orange and pink paint, dab most of it off on a paper towel, then lightly sweep across the sky area. This creates wispy, glowing sunset clouds. Add some purple-tinted clouds higher up.
Tip: Sunset clouds catch light on their bottoms and are darker on top — the opposite of daytime clouds!
Final glow and highlights
Add bright yellow and white highlights on the tops of nearby hills where the sun would hit them. Paint reflections in any water areas. Add a few birds as simple V-shapes in the sky. Sign your name in the corner — you're an artist!
Tip: A tiny bit of white mixed into any color makes it look "sunlit." Use this trick on hilltops and cloud edges.
You Did It! 🎉
Great job completing this project! Share your creation with friends and family, or try another project from our collection.
More Like This ✨
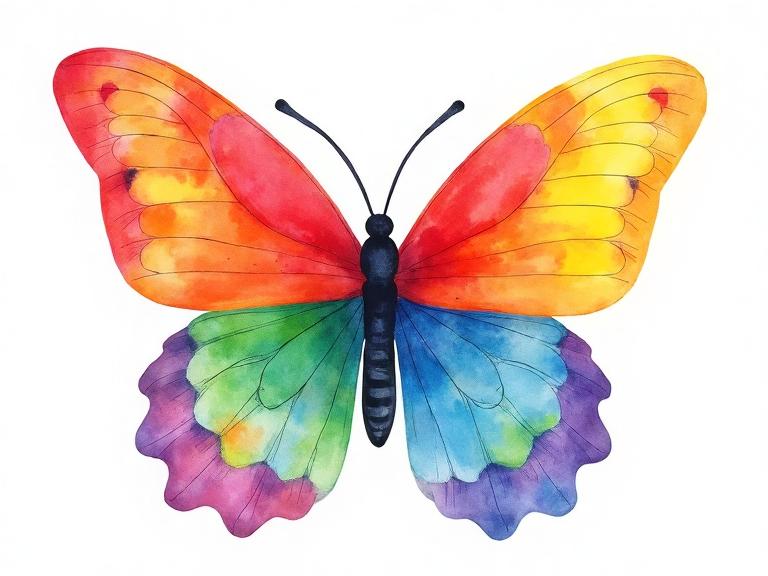
Rainbow Butterfly Painting
Learn to paint a beautiful butterfly using all the colors of the rainbow! This beginner-friendly watercolor project teaches color blending, symmetry, and brush control while creating a stunning piece of art you'll want to hang on your wall.
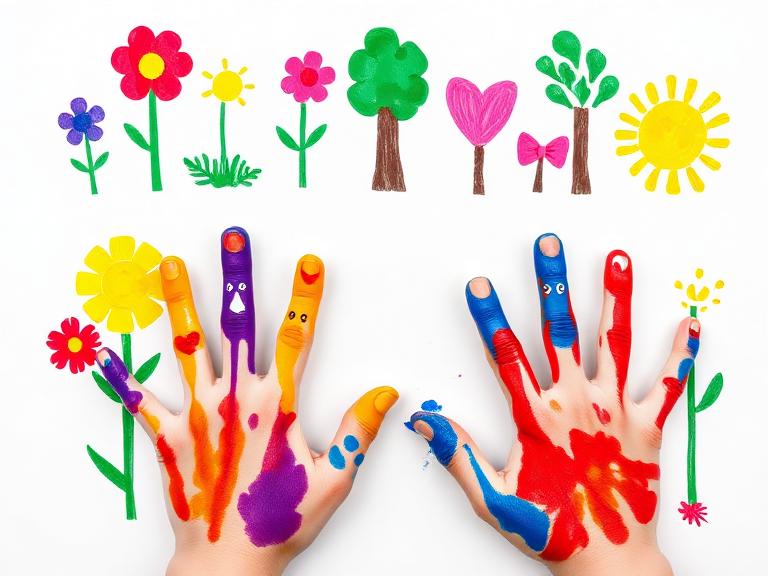
Finger Painting Fun
Dive into the joy of finger painting! No brushes needed — just your hands and bright, washable paints. Turn handprints into flowers, trees, animals, and abstract art. This messy, tactile project is pure creative freedom for the youngest artists.
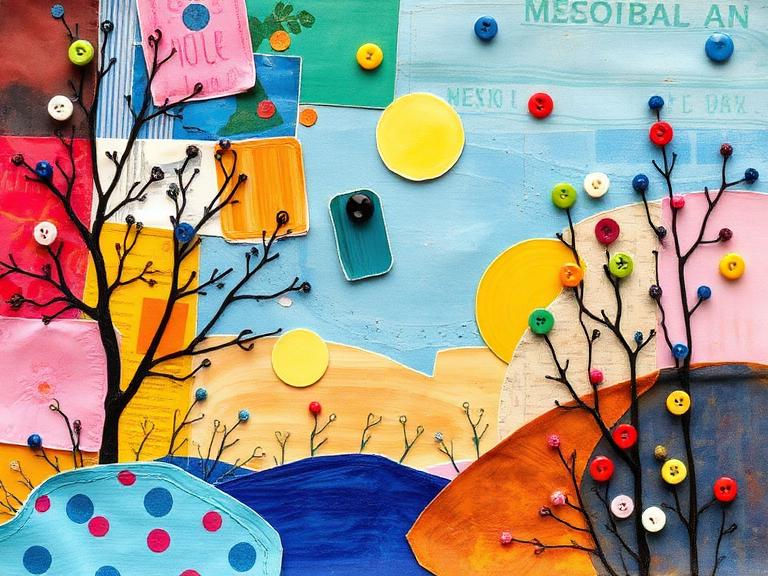
Mixed Media Collage Art
Combine painting, paper scraps, fabric, and found objects into a vibrant collage artwork! Mixed media means mixing any materials you want — there are no rules. This project encourages resourceful creativity and produces unique, textured art pieces.
Materials You'll Need
- Acrylic or tempera paint set
- Canvas or thick paper
- Flat brush (large)
- Round brush (medium)
- Water cup
- Paper plate (palette)
- Paper towels