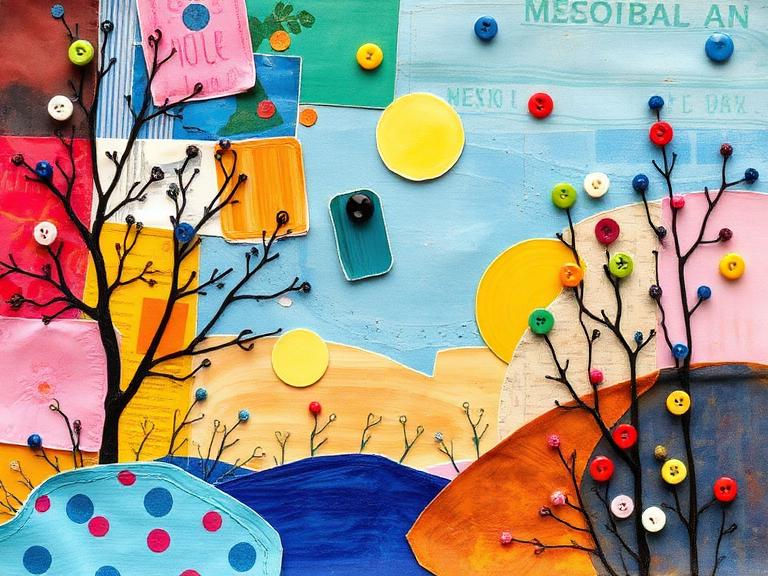
Mixed Media Collage Art
🎨 Painting & Color · 45 mins · 🌿 Intermediate · Ages: 7-9 years, 10-12 years, 13+ years
Combine painting, paper scraps, fabric, and found objects into a vibrant collage artwork! Mixed media means mixing any materials you want — there are no rules. This project encourages resourceful creativity and produces unique, textured art pieces.
Materials Needed
- Cardboard or heavy paper (base)
- Old magazines and newspapers
- Scissors and glue stick
- Acrylic or tempera paints
- Fabric scraps, buttons, ribbon
- Markers and colored pencils
- Washi tape (optional)
Step-by-Step Instructions 📝
Choose a theme or feeling
Decide what your collage is about — it could be "My Dream Vacation," "Things That Make Me Happy," "Ocean Life," or just colors and shapes that feel good together. Having a loose theme helps you pick materials that work together.
Tip: Flip through magazines and tear out anything that catches your eye — don't overthink it!
Paint the background
Paint your base with 2-3 colors that match your theme. Don't worry about being precise — rough brushstrokes and drips add character. Let some areas be thick paint and others thin. This creates an interesting base layer.
Tip: Paint over the edges of the board for a more finished, gallery-like look.
Layer paper and magazine pieces
While the paint dries, cut or tear shapes from magazines, colored paper, and newspapers. Arrange them on your base — overlapping, tilting, and clustering. When you're happy with the layout, glue everything down. Press firmly for a smooth finish.
Tip: Torn paper edges look more artistic than cut edges for organic shapes. Cut edges are great for geometric designs.
Add fabric and 3D elements
Glue on fabric scraps, ribbon, buttons, or any found objects that fit your theme. These add real texture and depth that makes your collage pop off the surface. Layer smaller items on top of larger ones.
Tip: Use white glue (not glue stick) for heavier items like buttons — hold them in place for 30 seconds until the glue grabs.
Draw and write on top
Use markers and pens to draw on top of your collage. Add borders, patterns, doodles, words, or quotes. Connect different elements with drawn lines or arrows. This personal touch ties everything together.
Tip: White gel pens show up beautifully on dark backgrounds and painted areas.
Seal and display
Once everything is dry and secure, you can add a light coat of Mod Podge or watered-down glue over the whole thing for a protective seal. Let it dry flat. Your unique piece of art is ready to hang!
Tip: Take a photo of your collage — you can use it as a phone wallpaper or share it online!
You Did It! 🎉
Great job completing this project! Share your creation with friends and family, or try another project from our collection.
More Like This ✨
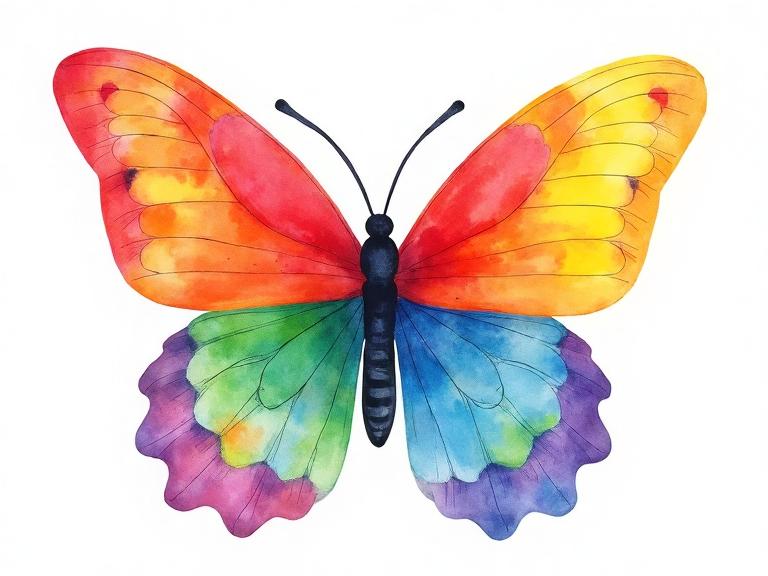
Rainbow Butterfly Painting
Learn to paint a beautiful butterfly using all the colors of the rainbow! This beginner-friendly watercolor project teaches color blending, symmetry, and brush control while creating a stunning piece of art you'll want to hang on your wall.
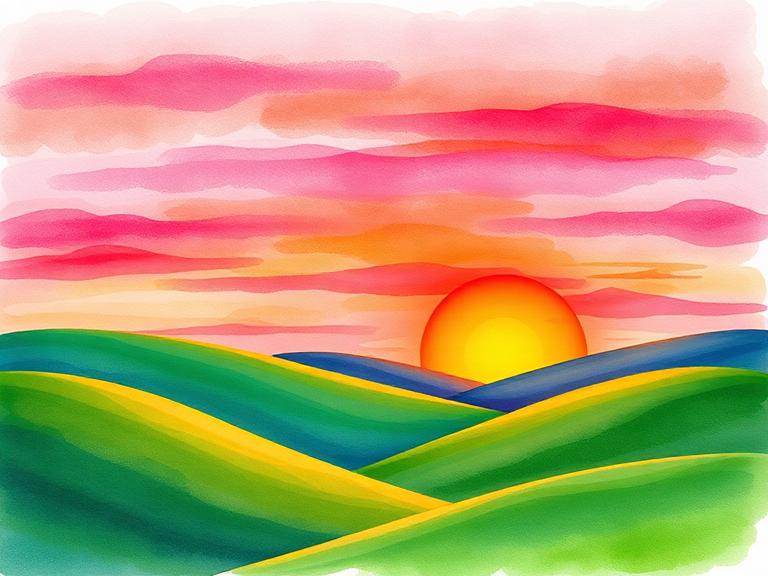
Sunset Landscape Painting
Paint a gorgeous sunset over rolling hills using warm and cool color contrasts! This project teaches you how to create depth, blend gradients, and use the magic of warm vs cool colors to make your landscape glow like a real sunset.
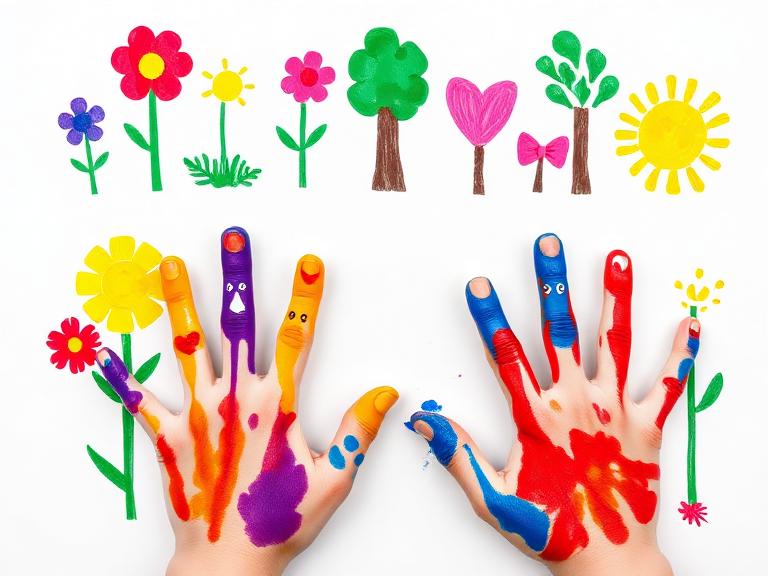
Finger Painting Fun
Dive into the joy of finger painting! No brushes needed — just your hands and bright, washable paints. Turn handprints into flowers, trees, animals, and abstract art. This messy, tactile project is pure creative freedom for the youngest artists.
Materials You'll Need
- Cardboard or heavy paper (base)
- Old magazines and newspapers
- Scissors and glue stick
- Acrylic or tempera paints
- Fabric scraps, buttons, ribbon
- Markers and colored pencils
- Washi tape (optional)