✂️ Crafts & DIY · 30 mins · 🌱 Beginner · Ages: 4-6 years, 7-9 years, 10-12 years
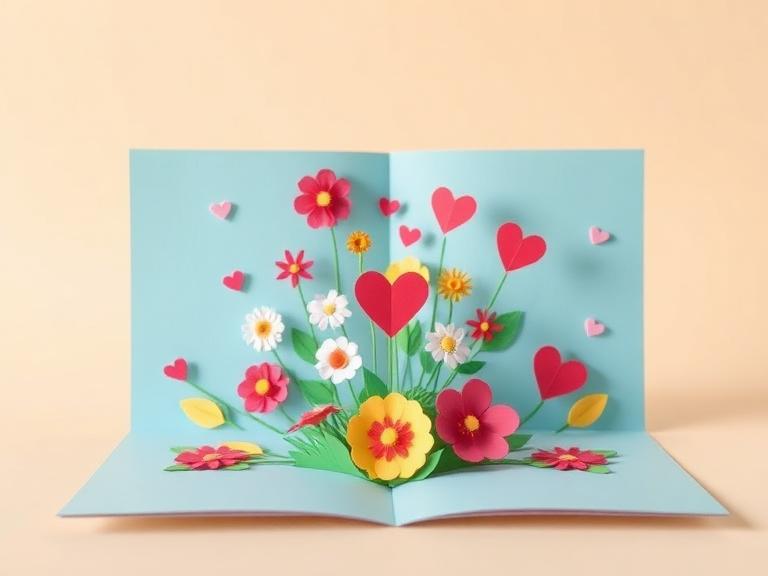
Learn to make magical pop-up cards that surprise and delight! Using simple folding and cutting techniques, you'll create cards where flowers bloom, animals jump, and messages pop out when opened. Perfect for birthdays, holidays, or just because!
Materials Needed
- Colored cardstock or thick paper
- Scissors
- Glue stick
- Markers and colored pencils
- Ruler
- Stickers and decorations (optional)
Step-by-Step Instructions 📝
Fold your card base
Take a piece of cardstock and fold it perfectly in half — this is your card. Press the fold firmly with your finger or a ruler. Choose a contrasting color piece that's slightly smaller, fold it in half too — this is your inside layer where the pop-up lives.
Tip: Use a bone folder or the back of a spoon to make super crisp, clean folds.
Create the pop-up mechanism
On the inside folded paper, make two parallel cuts from the fold inward, about 3cm long and 3cm apart. Open the paper and push this cut tab inward so it folds the opposite way. When you close the card, this tab pops forward!
Tip: Start with a small tab first to practice. You can add multiple tabs at different heights for layers of pop-ups!
Design your pop-up element
Draw and cut out whatever you want to pop up — a flower, an animal, a cake, a heart, or a message. Make it slightly larger than the tab so it covers the mechanism. Glue it to the front of the pop-up tab.
Tip: For a birthday card, make a pop-up cake with candles. For a get-well card, try pop-up flowers!
Glue the insert into the card
Apply glue to the back of the inner paper (NOT on the pop-up tab!). Carefully align and stick it inside your card base. Press firmly on the flat areas. Close the card and press to make sure everything folds correctly.
Tip: Test the pop-up mechanism before gluing the insert in — make sure it opens and closes smoothly.
Decorate the outside and inside
Write your message around the pop-up on the inside. Decorate the front of the card with drawings, stickers, or cut-out shapes. Add the recipient's name and a fun design. Make it personal and colorful!
Tip: Add a small note that says "Open me!" on the front to build excitement before the pop-up surprise.
You Did It! 🎉
Great job completing this project! Share your creation with friends and family, or try another project from our collection.
More Like This ✨
Paper Robot Friend
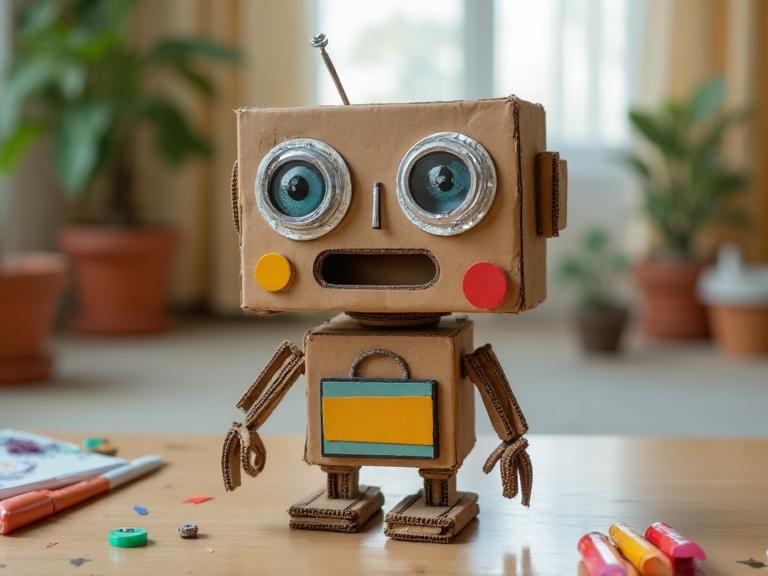
Build an awesome robot using cardboard and recycled materials! This eco-friendly craft project turns everyday items like cereal boxes, bottle caps, and aluminum foil into a one-of-a-kind robot companion. Perfect for kids who love building and inventing.
Friendship Bracelets
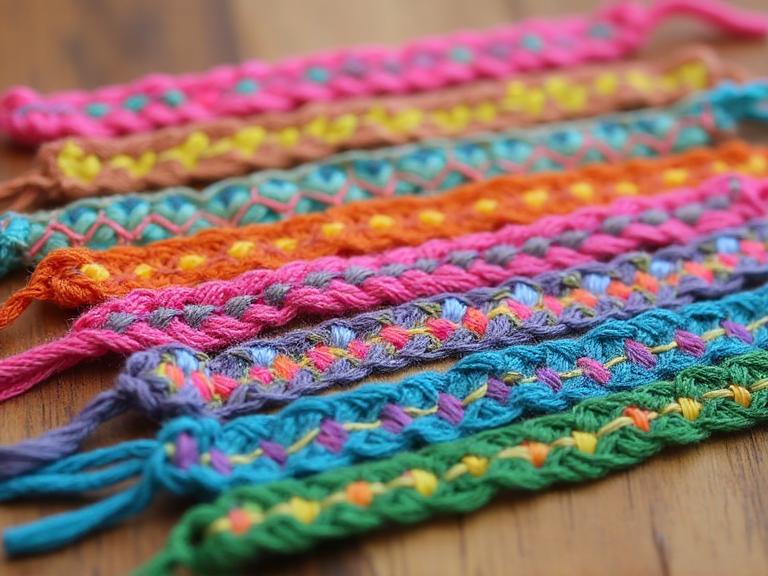
Weave colorful bracelets to share with your best friends! Learn the classic chevron and stripe knotting patterns using embroidery thread. This timeless craft teaches patience, pattern recognition, and fine motor skills while creating wearable art you can gift to the people you love.
Tie-Dye T-Shirt
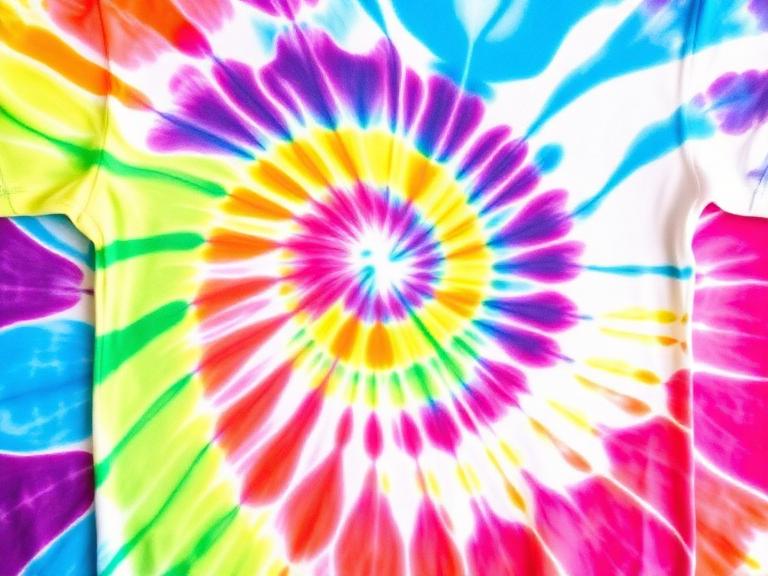
Transform a plain white t-shirt into a wearable work of art with tie-dye! Learn classic spiral, crumple, and stripe patterns using fabric dye and rubber bands. This colorful project combines art with fashion and makes a great gift or party activity.
Materials You'll Need
- Colored cardstock or thick paper
- Scissors
- Glue stick
- Markers and colored pencils
- Ruler
- Stickers and decorations (optional)
Try It Digitally!
Use our online tool to create a digital version of this project.
Open Digital Tool