✂️ Crafts & DIY · 45 mins · 🌿 Intermediate · Ages: 7-9 years, 10-12 years
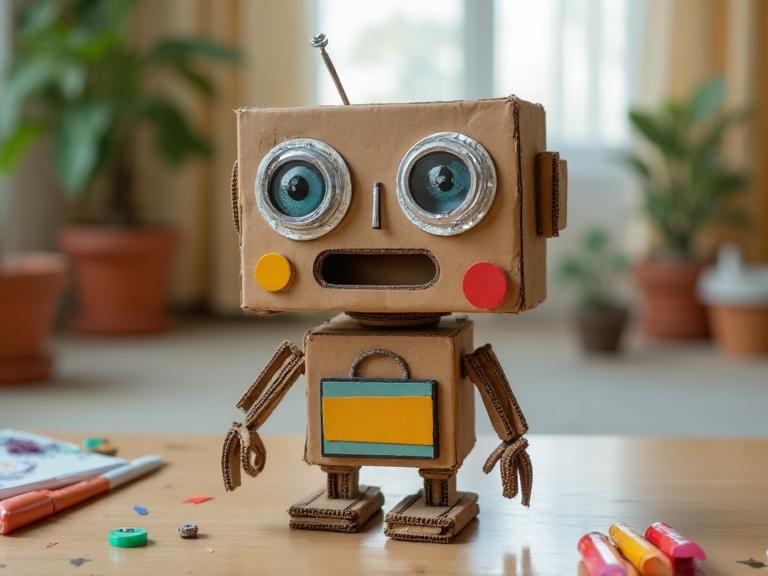
Build an awesome robot using cardboard and recycled materials! This eco-friendly craft project turns everyday items like cereal boxes, bottle caps, and aluminum foil into a one-of-a-kind robot companion. Perfect for kids who love building and inventing.
Materials Needed
- Small cardboard boxes (cereal box, tissue box, etc.)
- Scissors (kid-safe)
- White glue or glue stick
- Markers and crayons
- Bottle caps (2-4)
- Aluminum foil
- Pipe cleaners
- Buttons or beads
- Tape
Step-by-Step Instructions 📝
Design your robot
Before building, grab a piece of paper and sketch your robot. Will it be tall or short? Round or square? Does it have arms, antennas, or wheels? Planning ahead helps you pick the right boxes and materials.
Tip: Give your robot a name and personality — is it a helper bot, an explorer, or a dance machine?
Build the body and head
Choose your largest box for the body and a smaller one for the head. Glue them together and hold firmly for 30 seconds. If using a cereal box, you can fold it inside-out first so you have a plain surface to decorate.
Tip: Use tape to hold pieces while the glue dries — you can remove it later or cover with decorations.
Create arms and legs
Cut strips of cardboard for arms. You can fold them accordion-style so they bend! For legs, use small boxes, toilet paper tubes, or rolled cardboard. Attach everything with glue and reinforce with tape.
Tip: Pipe cleaners make great bendy arms that you can pose in different positions.
Add the face and features
Glue on bottle caps for eyes (you can draw pupils inside them). Cut a rectangle from foil for a mouth screen. Add buttons for a control panel on the chest. Wrap some foil around the antennae for a shiny look!
Tip: Googly eyes instantly bring your robot to life and make it extra fun.
Decorate and personalize
Use markers to draw buttons, screens, gauges, and circuit patterns all over your robot. Add a name tag, racing stripes, or stickers. Wrap foil around parts for a metallic look. This is where your robot gets its unique personality!
Tip: Try drawing a heart on the robot's chest — even robots need love!
Strike a pose
Position your robot's arms and set it up for display. You can create a little scene with a cardboard backdrop showing a lab, outer space, or your robot's home. Take a photo to remember your creation!
You Did It! 🎉
Great job completing this project! Share your creation with friends and family, or try another project from our collection.
More Like This ✨
Friendship Bracelets
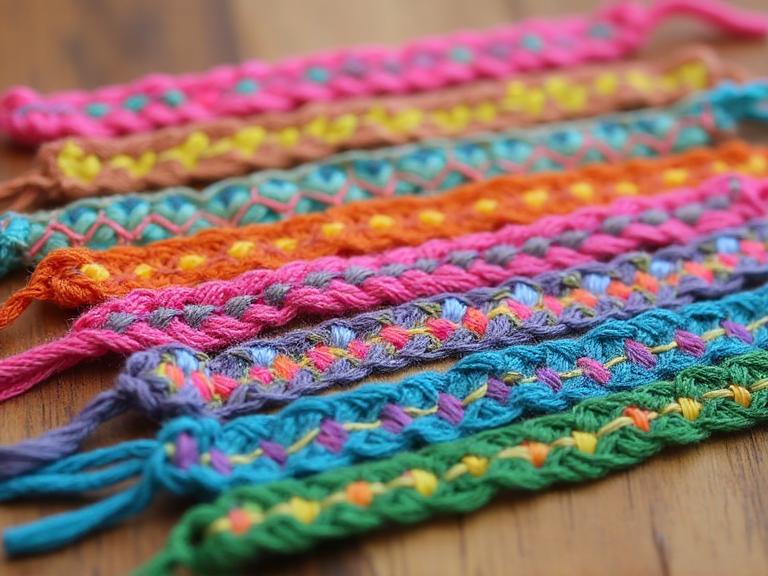
Weave colorful bracelets to share with your best friends! Learn the classic chevron and stripe knotting patterns using embroidery thread. This timeless craft teaches patience, pattern recognition, and fine motor skills while creating wearable art you can gift to the people you love.
Pop-Up Greeting Cards
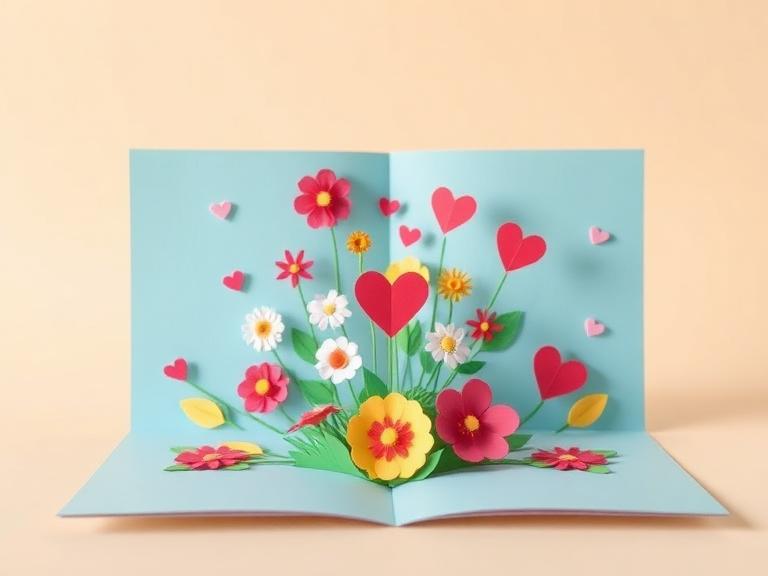
Learn to make magical pop-up cards that surprise and delight! Using simple folding and cutting techniques, you'll create cards where flowers bloom, animals jump, and messages pop out when opened. Perfect for birthdays, holidays, or just because!

Tie-Dye T-Shirt
Transform a plain white t-shirt into a wearable work of art with tie-dye! Learn classic spiral, crumple, and stripe patterns using fabric dye and rubber bands. This colorful project combines art with fashion and makes a great gift or party activity.
Materials You'll Need
- Small cardboard boxes (cereal box, tissue box, etc.)
- Scissors (kid-safe)
- White glue or glue stick
- Markers and crayons
- Bottle caps (2-4)
- Aluminum foil
- Pipe cleaners
- Buttons or beads
- Tape