✂️ Crafts & DIY · 45 mins · 🌿 Intermediate · Ages: 7-9 years, 10-12 years, 13+ years
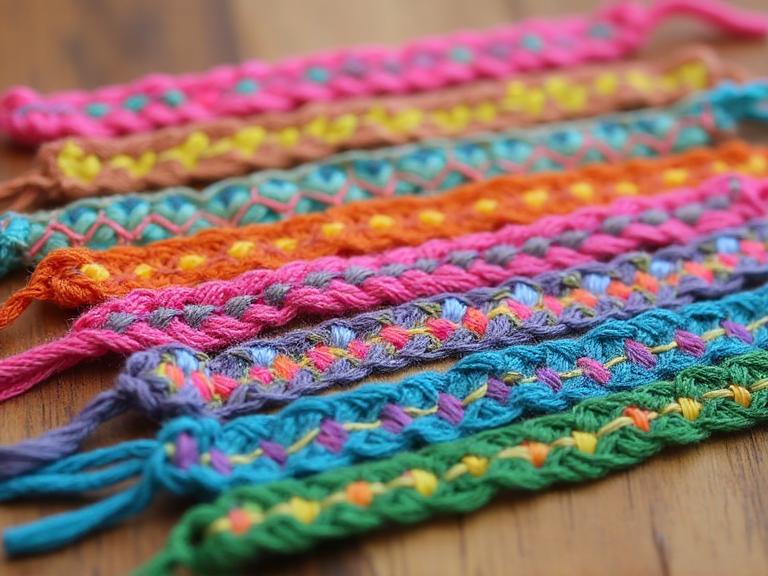
Weave colorful bracelets to share with your best friends! Learn the classic chevron and stripe knotting patterns using embroidery thread. This timeless craft teaches patience, pattern recognition, and fine motor skills while creating wearable art you can gift to the people you love.
Materials Needed
- Embroidery thread (4-6 colors)
- Scissors
- Masking tape or clipboard
- Ruler or measuring tape
- Safety pin (optional)
Step-by-Step Instructions 📝
Choose your colors and cut threads
Pick 4-6 colors that look great together — try rainbow order, your friend's favorite colors, or school colors! Cut each thread about 65cm long (about arm's length). You need one strand per color for a stripe pattern, or two of each for a chevron.
Tip: Classic combos: pink-purple-blue, red-orange-yellow, or all different rainbow colors. Your friend will wear this, so pick colors they'd love!
Set up your workspace
Gather all threads and tie them together in a knot about 3cm from the top, leaving tails for tying later. Tape the knotted end to a table, or clip it to a clipboard. Spread the threads out in the order you want the colors to appear.
Tip: A clipboard is the best tool for bracelet making — it holds everything steady and you can take it anywhere!
Learn the forward knot
Take the leftmost thread (Thread A) and cross it over the thread next to it (Thread B), making a number "4" shape. Pull Thread A under Thread B and up through the loop. Pull tight. Do this TWICE on the same thread. That's one forward knot! Thread A has now moved one spot to the right.
Tip: Always make TWO knots on each thread — one knot alone will twist and look messy.
Create the stripe pattern
Continue making forward knots with Thread A all the way across every other thread until it reaches the far right. Now take the NEW leftmost thread and repeat across. Each complete row creates a stripe of color. Keep going and watch the pattern emerge!
Tip: Keep your tension consistent — not too tight (it'll curl) and not too loose (it'll look messy). Find the sweet spot!
Keep weaving until it fits
Continue the pattern until the bracelet is long enough to wrap around your wrist (usually about 15cm of woven section). Check the fit as you go by wrapping it around your wrist. The colors will cycle through in a beautiful repeating pattern.
Tip: Put on some music or a podcast while you weave — it's relaxing and the time flies by!
Finish and tie it on
When it's long enough, tie all threads together in a tight knot. You can braid the remaining thread tails on each end and tie knots at the tips. To wear it, simply tie it around your wrist. For a gift, tie it on your friend's wrist and make a wish together!
Tip: Tradition says you make a wish when a friend ties the bracelet on, and the wish comes true when the bracelet naturally falls off!
You Did It! 🎉
Great job completing this project! Share your creation with friends and family, or try another project from our collection.
More Like This ✨
Paper Robot Friend
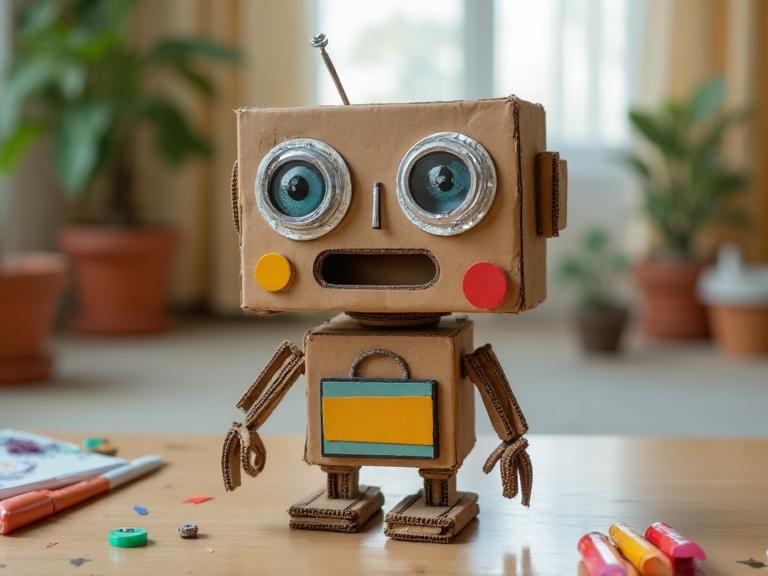
Build an awesome robot using cardboard and recycled materials! This eco-friendly craft project turns everyday items like cereal boxes, bottle caps, and aluminum foil into a one-of-a-kind robot companion. Perfect for kids who love building and inventing.
Pop-Up Greeting Cards
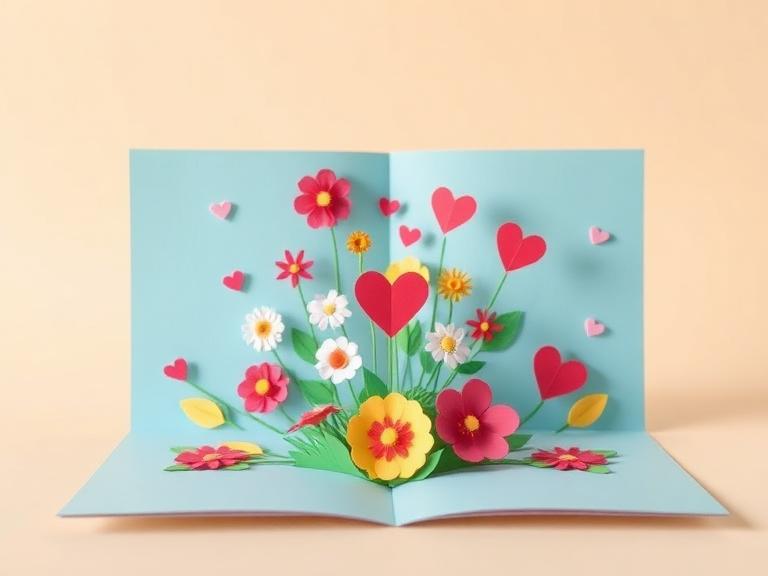
Learn to make magical pop-up cards that surprise and delight! Using simple folding and cutting techniques, you'll create cards where flowers bloom, animals jump, and messages pop out when opened. Perfect for birthdays, holidays, or just because!
Tie-Dye T-Shirt
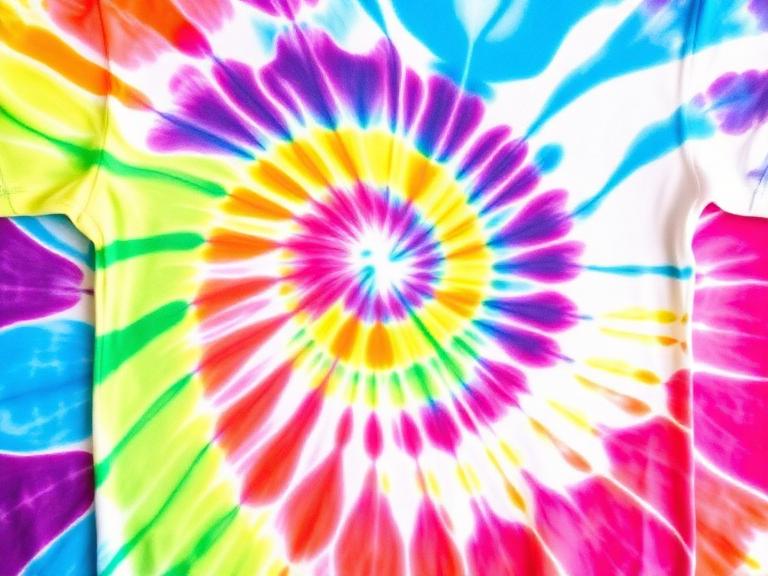
Transform a plain white t-shirt into a wearable work of art with tie-dye! Learn classic spiral, crumple, and stripe patterns using fabric dye and rubber bands. This colorful project combines art with fashion and makes a great gift or party activity.
Materials You'll Need
- Embroidery thread (4-6 colors)
- Scissors
- Masking tape or clipboard
- Ruler or measuring tape
- Safety pin (optional)