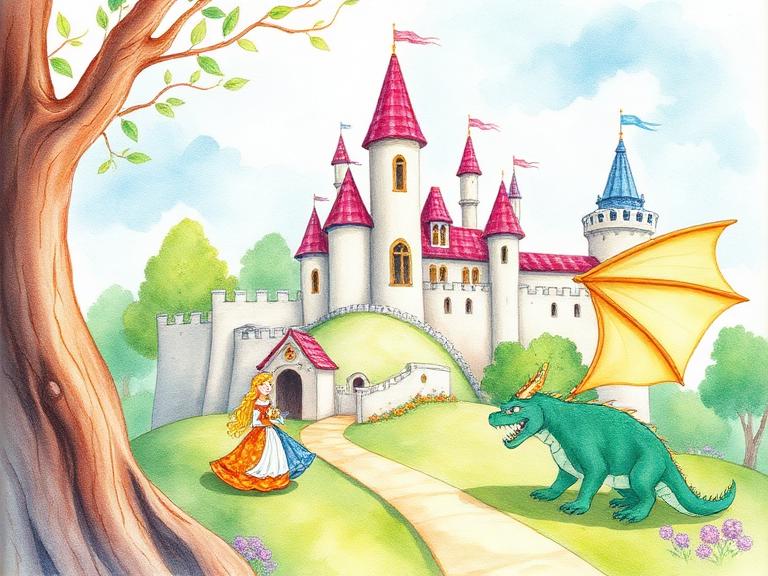
Fairy Tale Illustration
📖 Storytelling & Comics · 45 mins · 🌱 Beginner · Ages: 4-6 years, 7-9 years, 10-12 years
Illustrate your own fairy tale! Pick a classic story or invent a new one, then create beautiful full-page illustrations with castles, dragons, princesses, and magical forests. Learn storytelling through pictures and create a mini storybook.
Materials Needed
- Drawing paper (4-6 sheets)
- Pencils and erasers
- Colored pencils, markers, or watercolors
- Stapler or yarn (for binding)
- Ruler
Step-by-Step Instructions 📝
Choose or create your story
Pick a fairy tale you love (Cinderella, Jack and the Beanstalk, etc.) or make up a brand new one! Plan the key scenes: the beginning, the adventure, the problem, and the happy ending. Write one sentence per page to describe what happens.
Tip: New fairy tales are the best! What if a dragon was afraid of butterflies? What if a princess was an inventor? Twist the classics!
Sketch thumbnail layouts
On scrap paper, draw tiny rectangle versions of each page. Quickly sketch where the characters, scenery, and text will go on each page. This planning stage ensures your illustrations flow well together and tell the story clearly.
Tip: Alternate between close-up and wide shots — a close-up of the hero's face, then a wide view of the castle. This creates visual rhythm.
Draw the illustrations in pencil
On your good paper, lightly sketch each scene. Draw characters large enough to see their expressions. Add backgrounds with details that set the mood — dark twisted trees for scary moments, sunny meadows for happy ones. Leave space at the bottom for text.
Tip: The most important element in each scene should be the biggest and most centered. Lead the reader's eye to the action!
Add color and atmosphere
Color each page using your chosen medium. Match colors to the mood: warm and bright for happy scenes, cool and dark for scary ones, golden and sparkly for magical moments. Be consistent with character colors throughout the book.
Tip: Leaving some white space actually makes the colored areas more vibrant. Don't feel you have to fill every inch!
Write the story text
Write your story sentences neatly at the bottom or top of each page. Use your best handwriting or block letters. Add "Once upon a time..." at the start and "The End" on the last page. Include character dialogue in quotation marks for extra engagement.
Tip: Read your text out loud — if it sounds good spoken, it'll be a great read-aloud story for younger kids!
Bind your storybook
Create a cover page with the title and "Written and Illustrated by [Your Name]." Stack all pages in order, add a back cover, and staple along the left side. Or punch holes and tie with yarn or ribbon. You've published your first illustrated book!
Tip: Make copies for friends and family. You can even read it aloud to younger kids — they'll love it!
You Did It! 🎉
Great job completing this project! Share your creation with friends and family, or try another project from our collection.
More Like This ✨
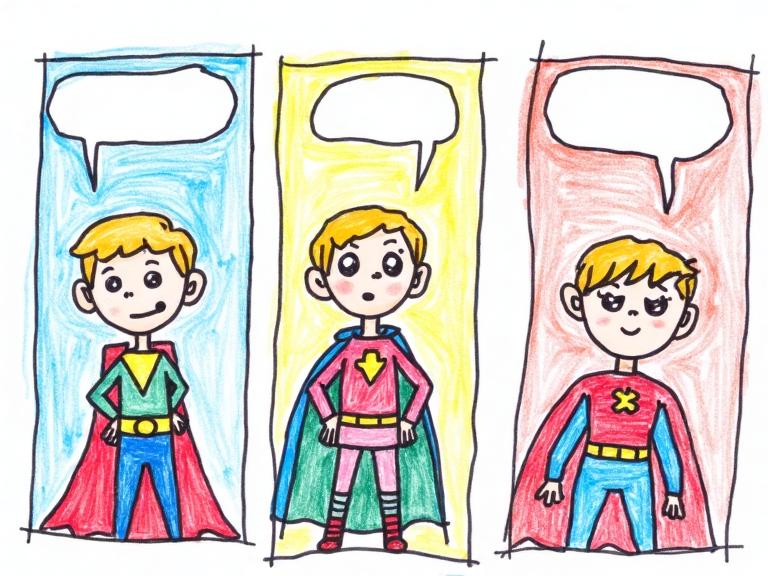
My First Comic Strip
Create your own 3-panel comic with your own characters and story! Learn the basics of visual storytelling, panel layout, speech bubbles, and character expression. Whether your comic is funny, adventurous, or silly, this project helps you tell stories through art.

Nature Mandala Art
Create beautiful circular patterns using natural materials found outdoors! Arrange leaves, flowers, pebbles, and sticks into stunning mandala designs on the ground. This meditative art form connects you with nature and teaches symmetry, pattern, and mindfulness.

Marble Run Engineering
Design and build an epic marble run using cardboard tubes, boxes, and recycled materials! This STEAM project combines creativity with engineering as you construct ramps, tunnels, loops, and funnels to guide a marble on an exciting journey from top to bottom.
Materials You'll Need
- Drawing paper (4-6 sheets)
- Pencils and erasers
- Colored pencils, markers, or watercolors
- Stapler or yarn (for binding)
- Ruler