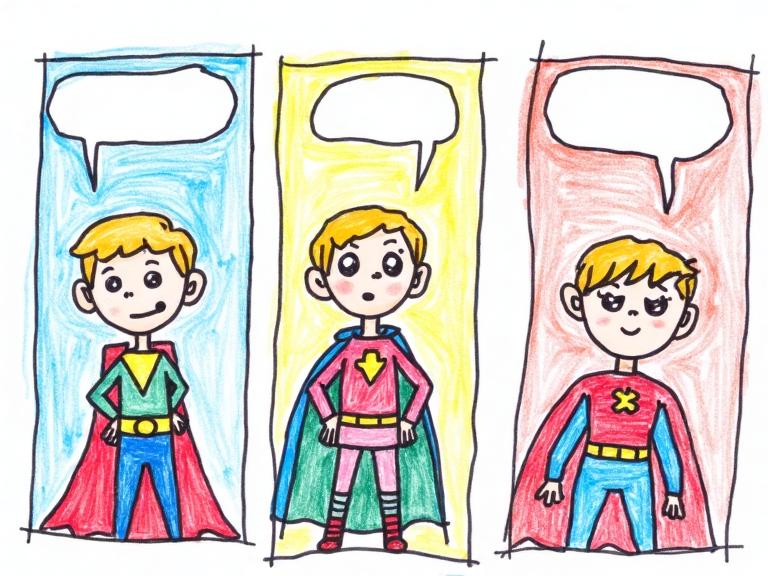
My First Comic Strip
📖 Storytelling & Comics · 40 mins · 🌿 Intermediate · Ages: 7-9 years, 10-12 years, 13+ years
Create your own 3-panel comic with your own characters and story! Learn the basics of visual storytelling, panel layout, speech bubbles, and character expression. Whether your comic is funny, adventurous, or silly, this project helps you tell stories through art.
Materials Needed
- White paper (thick is best)
- Pencil
- Ruler
- Black markers (thick and thin)
- Colored markers or pencils
- Eraser
Step-by-Step Instructions 📝
Create your character
Every great comic needs a great character! Draw your hero on a practice sheet. Keep the design simple — a basic body shape, a distinctive feature (hat, cape, big hair), and clear facial expressions. Practice drawing them from the front and side.
Tip: Simple characters are easier to draw again and again. Think of how cartoon characters like Snoopy or Garfield use basic shapes!
Plan your story
Think of a short, funny, or exciting story that fits in 3 panels. The classic formula: Panel 1 sets the scene, Panel 2 introduces a problem or surprise, Panel 3 delivers the punchline or resolution. Write a quick script of what happens and what characters say.
Tip: The best short comics have a twist or surprise at the end. Try starting with the funny ending and working backwards!
Draw the panel borders
Use your ruler to draw 3 equal rectangles across your paper. Leave a small gap between each panel and a border around the edges. Make the panels about 7cm tall and 6cm wide each. These borders frame your story!
Tip: For extra drama, you can make one panel bigger than the others to emphasize an important moment.
Sketch the scenes in pencil
Lightly draw your characters and backgrounds in each panel. Show your character doing something different in each frame. Use different "camera angles" — a close-up face, a wide shot, or an action pose to keep it interesting.
Tip: Leave room at the top of each panel for speech bubbles — they take up more space than you think!
Add speech bubbles and text
Draw cloud-shaped bubbles for speaking and spiky bubbles for shouting. Write your dialogue inside in neat, capital letters. Add thought bubbles (bumpy circles with small circles leading to the character's head) for inner thoughts. Keep text short and punchy!
Tip: Write the text first, then draw the bubble around it. This way you never run out of space!
Ink and color your comic
Go over your pencil lines with black markers — thick lines for outlines, thin lines for details. Let the ink dry completely, then erase all pencil marks. Finally, add color with markers or colored pencils. Use bold, bright colors that pop!
Tip: Add action lines (speed marks, impact stars) to make your comic feel dynamic and exciting!
You Did It! 🎉
Great job completing this project! Share your creation with friends and family, or try another project from our collection.
More Like This ✨
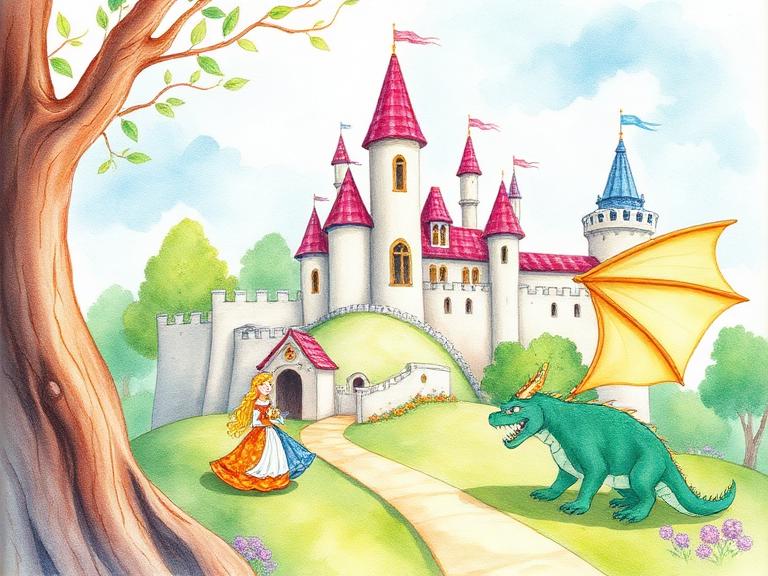
Fairy Tale Illustration
Illustrate your own fairy tale! Pick a classic story or invent a new one, then create beautiful full-page illustrations with castles, dragons, princesses, and magical forests. Learn storytelling through pictures and create a mini storybook.

Nature Mandala Art
Create beautiful circular patterns using natural materials found outdoors! Arrange leaves, flowers, pebbles, and sticks into stunning mandala designs on the ground. This meditative art form connects you with nature and teaches symmetry, pattern, and mindfulness.

Marble Run Engineering
Design and build an epic marble run using cardboard tubes, boxes, and recycled materials! This STEAM project combines creativity with engineering as you construct ramps, tunnels, loops, and funnels to guide a marble on an exciting journey from top to bottom.
Materials You'll Need
- White paper (thick is best)
- Pencil
- Ruler
- Black markers (thick and thin)
- Colored markers or pencils
- Eraser
Try It Digitally!
Use our online tool to create a digital version of this project.
Open Digital Tool